
jeep wrangler jk hardtop seal kit instructions
Welcome to our comprehensive guide on installing a Jeep Wrangler JK hardtop seal kit. This guide provides step-by-step instructions to ensure a leak-free performance and proper installation.
Overview of the Importance of Proper Sealing
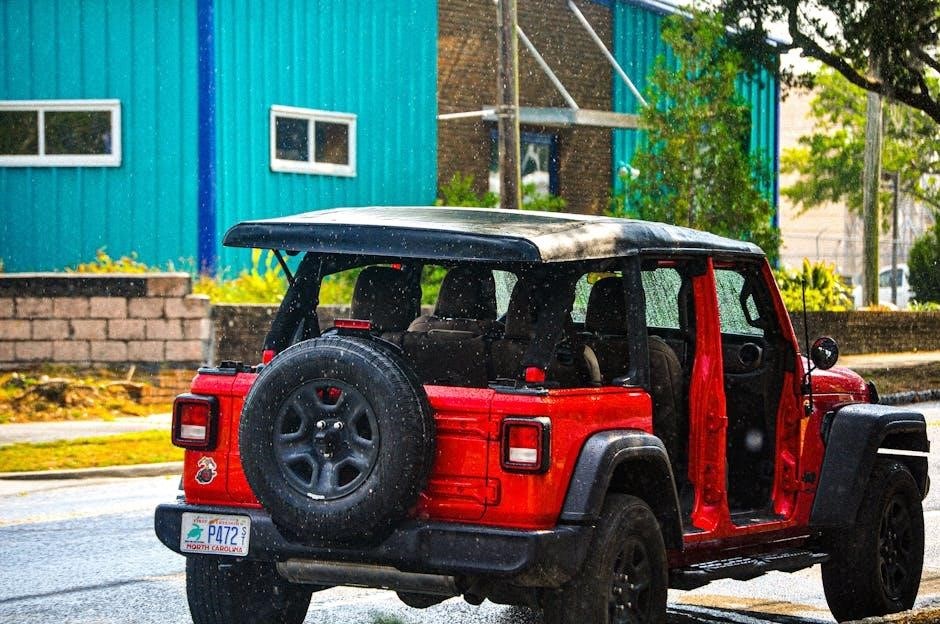
Proper sealing is crucial for maintaining the integrity and functionality of your Jeep Wrangler JK hardtop. Leaks can lead to water damage‚ mold growth‚ and discomfort during driving‚ especially in rainy conditions or when washing the vehicle. The hardtop seal kit is designed to address these issues by creating a watertight barrier between the roof panels and the vehicle’s frame. Correct installation ensures optimal performance and prevents future leaks. Many Jeep owners have reported success with aftermarket seal kits‚ such as the Mopar Foam Blocker Seal Kit‚ which provides durable and long-lasting protection. Proper sealing not only protects your Jeep’s interior but also enhances its overall reliability and driving experience.
Common Issues with Leaks in Jeep JK Hardtops
Leaks in Jeep JK hardtops are a prevalent issue‚ often stemming from worn or damaged seals around the Freedom panels and door openings. These leaks can lead to water intrusion‚ damaging the interior and creating unpleasant conditions during wet weather. Many owners report water pooling on the floorboards or dripping from the headliner‚ which can result in mold growth and electrical malfunctions. The Freedom panels are particularly prone to leaks due to their removable design‚ which can cause gaps in the sealing system. Additionally‚ misaligned or deteriorated seals around the hardtop edges can exacerbate the problem. Addressing these issues promptly is essential to maintain the vehicle’s interior and prevent long-term damage. Proper installation of a high-quality seal kit is the most effective solution to resolve these common leaks.

Tools and Materials Needed for Installation
Essential tools include a screwdriver‚ pliers‚ and a utility knife. Materials required are the seal kit‚ weatherstripping adhesive‚ and cleaning supplies to ensure proper installation.
Essential Tools for the Job
To successfully install your Jeep Wrangler JK hardtop seal kit‚ gather the following tools: a screwdriver‚ utility knife‚ pliers‚ and a clean‚ dry cloth. Additional items like a trim removal tool and adhesive activator or primer may be helpful for a seamless installation. Ensure all tools are within reach to streamline the process and avoid delays. Proper preparation and organization of these tools will make the installation more efficient and reduce the risk of errors. Clean the work area thoroughly before starting to ensure optimal conditions for applying the new seals. Having these tools ready will help you achieve professional results and a leak-free hardtop.
Recommended Materials for Optimal Results
For a successful installation‚ use a high-quality Jeep Wrangler JK hardtop seal kit specifically designed for your vehicle. Kits like the Mopar Foam Blocker Seal Kit (68026937AB) or alternatives from Crown or Omix-ADA are highly recommended. Additionally‚ consider investing in a roll of rubber foam weatherstripping from hardware stores like Home Depot for a cost-effective solution. Adhesive activators or primers can enhance the seal’s durability. Ensure all materials are compatible with your Jeep’s hardtop to avoid damage or improper fit. Optional items like UV-resistant sprays or foam tape can provide extra protection against the elements; Always verify the kit’s contents and ensure it includes all necessary components for a complete installation.
Step-by-Step Installation Guide
Follow these detailed steps to replace your Jeep Wrangler JK’s hardtop seals‚ ensuring a leak-free installation. Start by preparing the vehicle‚ then remove the old seals‚ clean the area‚ and apply the new seal kit carefully. Inspect and test the results to ensure proper sealing.
Preparation and Vehicle Readiness
Before starting the installation‚ ensure your Jeep Wrangler JK is properly prepared. Gather all necessary tools and materials‚ including a trim removal tool‚ adhesive cleaner‚ and a hairdryer for removing old seals. Clean the hardtop and surrounding areas thoroughly to remove dirt and old adhesive‚ ensuring a smooth installation. Park the vehicle in a dry‚ shaded area to prevent moisture interference; Apply masking tape around the hardtop edges to protect the paint during the process. Inspect the hardtop for any damage or debris that could interfere with the new seals. Allow the surface to dry completely before proceeding. Proper preparation ensures a seamless and effective installation of the seal kit.
Removing the Old Seals and Cleaning the Area
Start by carefully removing the old seals from the Jeep Wrangler JK hardtop. Use a trim removal tool or a flathead screwdriver to gently pry the seals away from the surface. Avoid using sharp objects that might scratch the hardtop. Once the old seals are removed‚ inspect the area for any remaining adhesive or debris. Clean the surface thoroughly using an adhesive remover and a lint-free cloth to ensure a clean base for the new seals. If necessary‚ use a hairdryer on a low setting to soften stubborn adhesive residue. Allow the area to cool and dry completely before proceeding with the installation of the new seal kit. Proper cleaning is essential for a secure and leak-free fit.
Applying the New Seal Kit
Begin by peeling the backing from the new seals and aligning them with the designated areas on the Jeep Wrangler JK hardtop. Ensure proper alignment before pressing the seals firmly into place. Start from the center and work outward to avoid air bubbles. Use a credit card or similar tool to smooth out any wrinkles or excess material. For complex shapes‚ gently stretch the seals to fit without tearing. If the kit includes multiple pieces‚ follow the manufacturer’s diagram for placement. Allow the adhesive to set for 24 hours before exposing the hardtop to water. Double-check all edges to ensure a tight seal. Extra tubes in some kits can be used for additional protection or stored as spares. Proper application ensures long-term leak resistance and durability.
Troubleshooting Common Issues
Identify and address leaks‚ misaligned seals‚ or improper fit. Adjust seals for alignment‚ ensure a tight fit‚ and re-inspect for optimal performance.
Identifying and Fixing Leaks Post-Installation
After installing your Jeep Wrangler JK hardtop seal kit‚ inspect for leaks by spraying water on the hardtop while another person checks inside for moisture. Common leak sources include misaligned seals or improper adhesive application. To fix‚ clean the area thoroughly with alcohol‚ ensuring no dirt or residue remains. Realign the seals‚ pressing firmly to secure a tight fit. If leaks persist‚ apply a silicone-based sealant to gaps and allow it to cure. Repeat the water test to confirm the issue is resolved. Addressing leaks promptly prevents further damage and ensures a waterproof interior. Proper installation is key to avoiding future issues.
Addressing Misaligned or Damaged Seals
If your Jeep Wrangler JK hardtop seals are misaligned or damaged‚ start by gently peeling them off and inspecting for wear or debris. Clean the surface with alcohol to ensure proper adhesion. For misaligned seals‚ realign them carefully‚ pressing firmly to secure a tight fit. If damaged‚ replace the seal with a new one from your kit. Apply even pressure to avoid air bubbles or wrinkles. For stubborn areas‚ use a soft tool to tuck the seal into place. Regularly inspect and maintain your seals to prevent future issues and ensure a leak-free performance. Proper alignment and condition of seals are crucial for the longevity of your Jeep’s hardtop and interior protection.
After completing the installation‚ inspect all seals for proper alignment and adhesion. Test your Jeep in wet conditions to ensure a leak-free performance and enjoy a protected interior.
Ensuring a Leak-Free Seal
To ensure a leak-free seal‚ carefully inspect each component of the Jeep Wrangler JK hardtop seal kit. Proper alignment and adhesion of the seals are crucial for optimal performance. Apply even pressure along the edges to secure the seals firmly. Avoid stretching or over-tightening‚ as this can damage the material. Use a clean‚ dry surface for application to maximize adhesion. Test the seals by spraying water on the hardtop while inspecting the interior for any leaks. Address any gaps or misalignments promptly to prevent water ingress. Regular maintenance and inspections will help maintain the integrity of the seals over time.
Final Inspection and Testing
After completing the installation‚ conduct a thorough inspection to ensure all seals are correctly aligned and securely attached. Verify that no gaps exist between the hardtop and the vehicle. Test the seals by spraying water on the hardtop while inspecting the interior for leaks. Pay special attention to areas around door openings‚ panel gaps‚ and Freedom panels. If any water ingress is detected‚ re-examine the affected seals for proper adhesion and alignment. Use a garden hose to simulate heavy rain conditions for an accurate test. This step is critical to confirm the effectiveness of the seal kit and ensure a leak-free performance. Proper testing guarantees the reliability of the seals in various weather conditions.